Pre-Lab: Accessing Your Cisco DevNet Sandbox
Objective
This guide outlines the steps required to access and launch a Cisco Catalyst 8000 "Always-On" Sandbox environment through the Cisco DevNet portal. Completing these steps will provide you with a live network device for practicing course labs without needing physical hardware.
Key Outcomes of this Guide
- Successfully navigate the Cisco DevNet Sandbox portal.
- Filter and locate "Always-On" sandbox environments.
- Launch a Catalyst 8000 series sandbox.
- Obtain necessary access credentials (hostname, username, password, SSH port).
- Connect to the sandbox device using PuTTY (Windows) or Terminal (Linux/macOS/WSL).
Environment Overview
This pre-lab does not involve a complex network topology. Instead, it focuses on accessing a single Cisco Catalyst 8000 virtual device hosted within the Cisco DevNet Sandbox cloud.

(Illustrative: You will obtain credentials similar to those shown in the sandbox portal)
Procedure: Accessing the Sandbox
Follow these steps carefully to set up your sandbox environment.
-
Step 1: Visit Cisco DevNet Sandbox Portal
Open your web browser and navigate to the Cisco DevNet Sandbox portal:
https://developer.cisco.com/sandbox.html
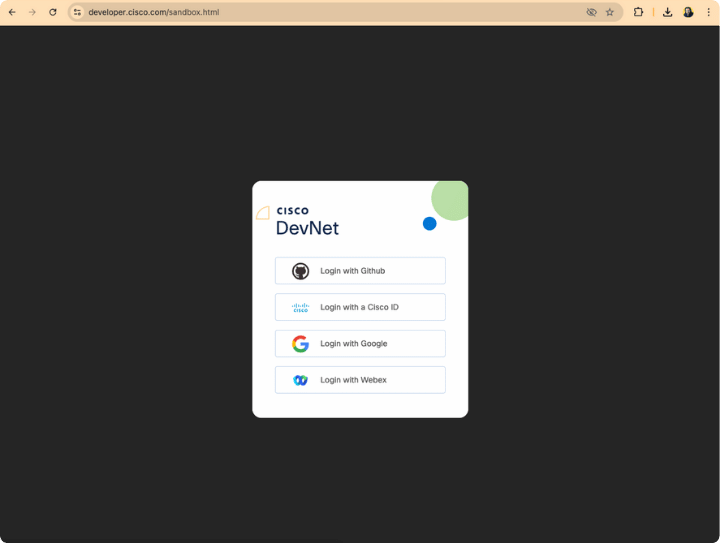
You will be presented with several login options. Choose the one most convenient for you (e.g., Login with Google, Login with Github, Login with a Cisco ID).
-
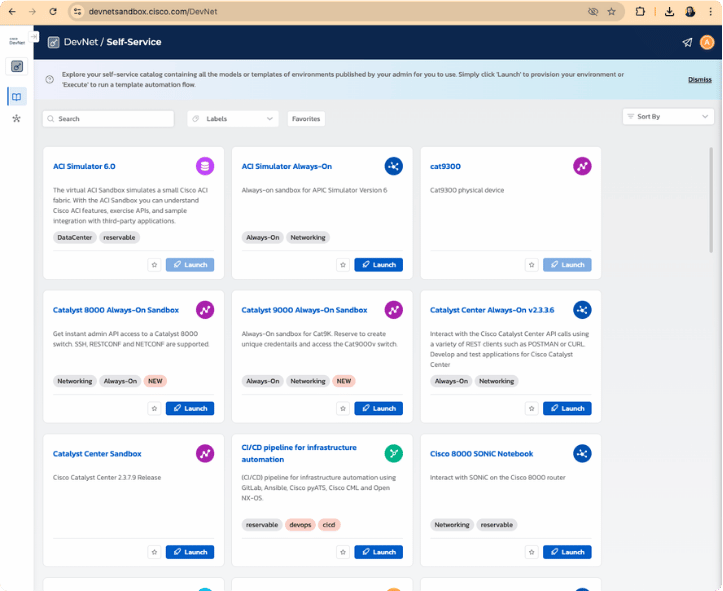
Step 2: Sign In to Your Cisco Account
After successful authentication, you'll be redirected to the DevNet Sandbox catalog page (Self-Service view).
-
Step 3: Filter for "Always-On" Sandboxes
To find labs that are readily available without reservation queues:
- Click on the "Labels" filter button.
- In the dropdown, check the box next to "Always-On".

-
Step 4: Search for "Catalyst 8000" Device
In the search bar at the top of the catalog, type
Catalyst 8000and press Enter or wait for the results to filter.
You should see the "Catalyst 8000 Always-On Sandbox" appear.
-
Step 5: Launch the Sandbox
On the "Catalyst 8000 Always-On Sandbox" tile, click the "Launch" button.
-
Step 6: Configure Environment Settings
A "Launch Form" will appear:
- The "Environment Name" will be pre-filled. You can leave it as is.
- Under "Scheduling", the "Environment Duration" is typically set by default (e.g., 1 day). For an "Always-On" sandbox, this duration indicates how long your unique credentials will be valid. You can usually leave the default.
- Click the "Review Summary" button.
-
Step 7: Review and Launch Environment
Review the summary details. If everything looks correct, click the "Launch Environment" button.
-
Step 8: Wait for Sandbox to Launch & Prepare
The sandbox will now begin to provision.
Once prepared, you'll be taken to the "Operation Hub" for your sandbox. This page contains crucial information about your environment.
Important: The "Operation Hub" shows the status, and credentials to access the device. The "Instructions" tab on the right provides access details, including the host/device address and ports.
-
Step 9: Copy Device Access Information
In the "Operation Hub":
- On the left panel, you'll find your Catalyst 8000 Always-On device. Note down or copy the username and password.
- On the right panel, under the "Instructions" tab, scroll to "Access Details" or a similar section.
Find the Cat8000v Host information:
- Public URL / Hostname: e.g.,
devnetsandboxiosxec8k.cisco.com - RESTCONF port:
443 - NETCONF port:
830 - SSH port:
22
- Public URL / Hostname: e.g.,
For this lesson, we'll primarily use SSH.
-
Step 10: Login Using PuTTY (Windows) – Primary Method
- Download PuTTY (if not installed): https://www.chiark.greenend.org.uk/~sgtatham/putty/latest.html
- Open PuTTY.
- In the "Host Name (or IP address)" field, enter the hostname you copied in Step 9 (e.g.,
devnetsandboxiosxec8k.cisco.com). - Set "Port" to
22. - Ensure "Connection type" is set to SSH.
- Click "Open".
- Accept the Security Alert: On first login, PuTTY may show a security alert about the server's host key. Click "Accept" or "Yes".
- Enter Credentials: When prompted for "login as:", enter the username from Step 9. When prompted for "password:", enter the password from Step 9. (Note: Password characters will not be displayed as you type).
You should now be logged into the Catalyst 8000 device!
-
Step 11: Login Using Terminal (Linux/WSL/macOS) – Secondary Method
If you are on Linux, WSL (Windows Subsystem for Linux), or macOS:
- Open your terminal application.
- Run the SSH command using the username and hostname from Step 9. Replace
usernameandyour_sandbox_hostnameaccordingly:Example:ssh username@your_sandbox_hostname -p 22ssh apoorv@devnetsandboxiosxec8k.cisco.com -p 22 - Trust Host Key: If it's your first time connecting, you'll be asked to verify the authenticity of the host. Type
yesand press Enter. - Enter Password: When prompted, enter the password you obtained in Step 9. (Note: Password characters will not be displayed as you type).

You should now be connected to the router from your terminal.


Expected Outcomes
- You have successfully logged into the Cisco DevNet portal.
- You have located and launched the "Catalyst 8000 Always-On Sandbox".
- The sandbox environment is active and shows an "Operation Hub".
- You have noted the device hostname, your unique username, and password.
- You are able to establish an SSH session to the Catalyst 8000 device.
- You see a command prompt (e.g., `Cat8K#` or similar) on the sandbox device after successful login.
Completion
Once you can successfully log into the Catalyst 8000 device via SSH, you have completed this pre-lab setup. You are now ready to proceed with the course labs that require access to a Cisco network device.
Happy Labbing!